Today’s blog features a tutorial detailing everything you need to know in order to provision users from Okta to ServiceNow and Federated ServiceNow Application using SAML (Security Assertion Markup Language).
ServiceNow is a cloud-based company that provides technical management support, such as IT service management, to the IT operations of large corporations, including providing help desk functionality. The company’s core business revolves around management of “incident, problem, and change” IT operational events.
Okta is a cloud-based identity management product that helps companies manage and secure user authentication and build identity controls into applications.
Through this blog, we will show user provisioning from Okta to ServiceNow and configuration of Single Sign-On using Identity Provider and Service Provider Initiated Mechanism through SAML.
Since SAML works with Ping Federate in a similar manner, this blog is helpful for both Okta & Ping Identity consultants to Integrate ServiceNow.
Prerequisites:
- Administrative ServiceNow Account
- Application Administrative Okta Account
Configuration Steps at Okta:
- Add a ServiceNow Application from Okta Integration Network (OIN).
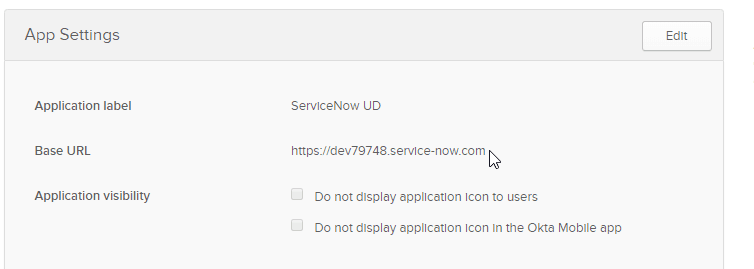
- Provide the Application URL of your ServiceNow Instance under the Base URL field. In this demo, we have used a dev instance.
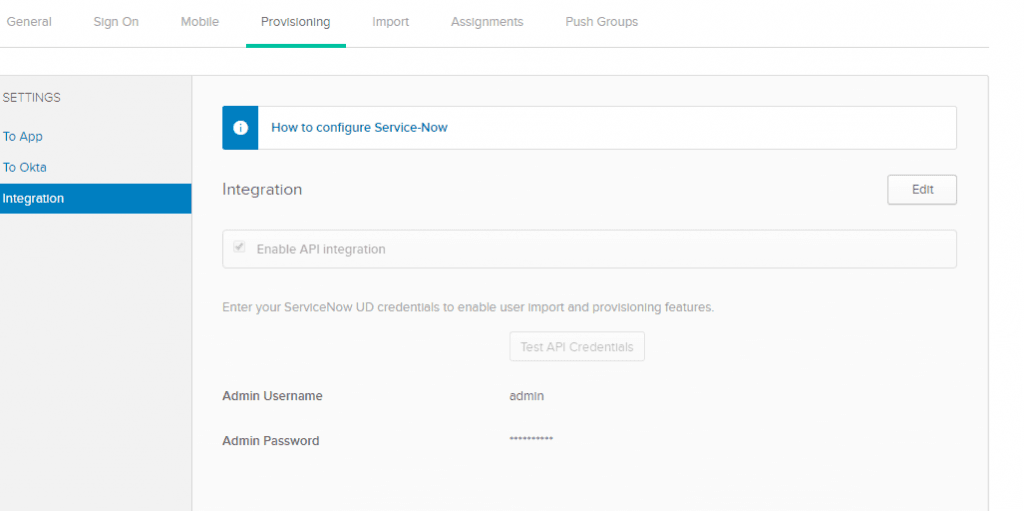
- Under the Provisioning tab, Enable API Credentials using ServiceNow admin account.
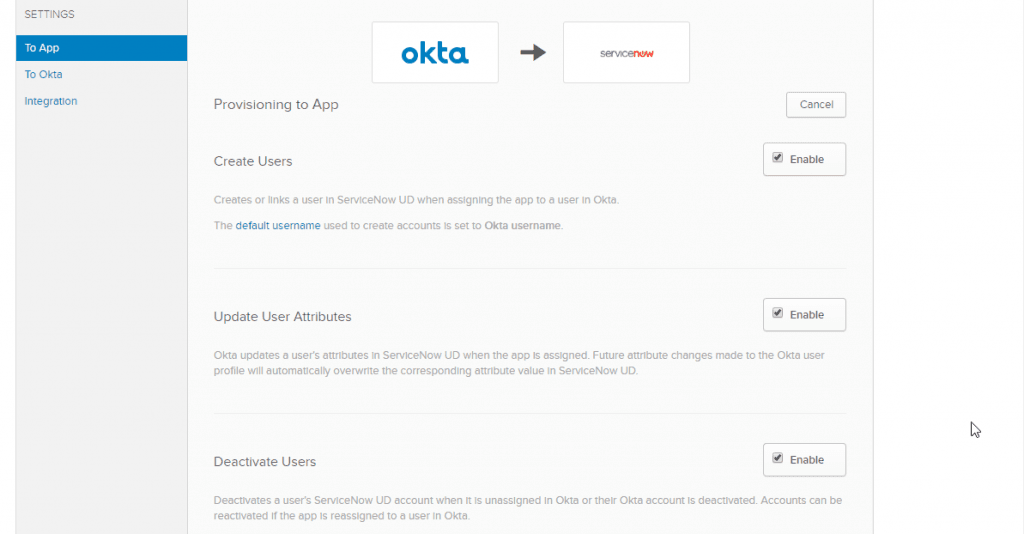
- After successful API Integration, we can create, update and deactivate users from Okta to ServiceNow.
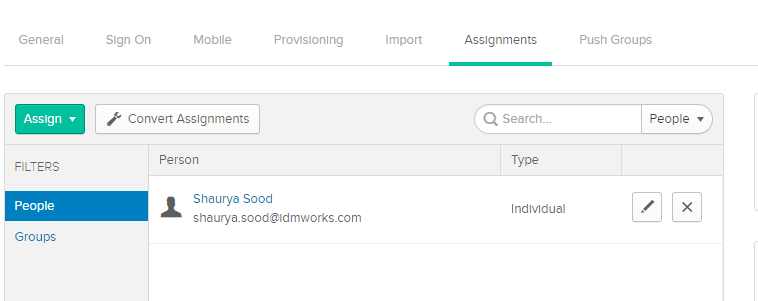
- Under the Assignments Tab, assign the application to a user or a group. In this demo we have assigned the application to a user for testing.
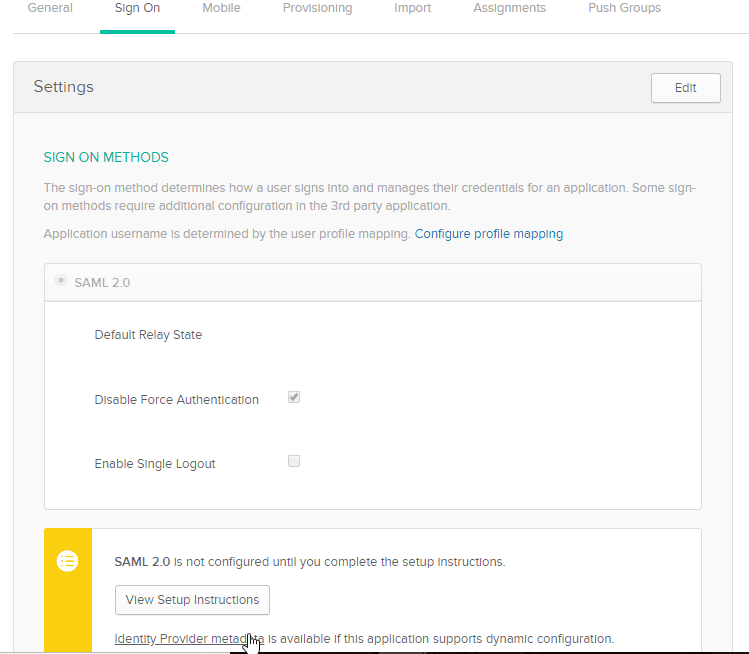
- Under the Sign On Tab, download the Identity Provider Metadata.
Configuration Steps at ServiceNow:
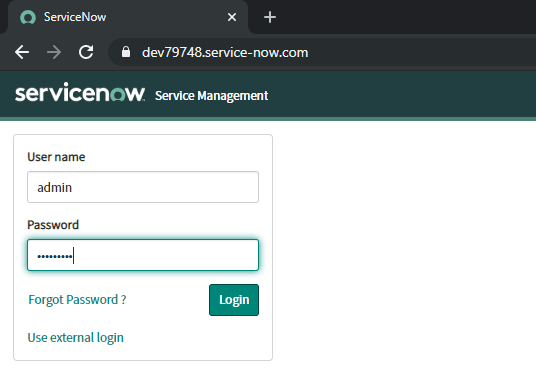
- Log in to ServiceNow as the administrator
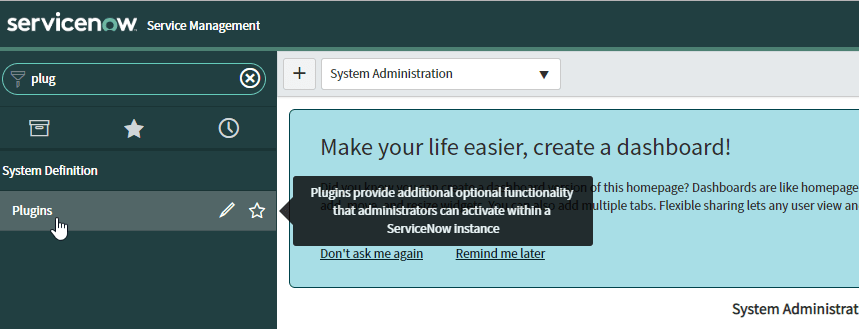
- Search for plugins in the Filter navigator (top left input field)
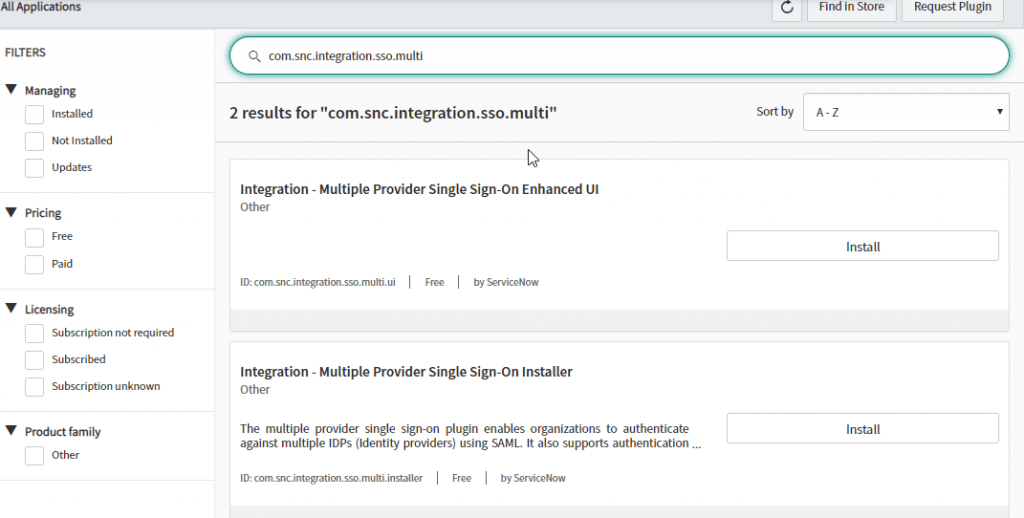
- Search for com.snc.integration.sso.multi in the ID field from the search bar at the top of the Plugins page
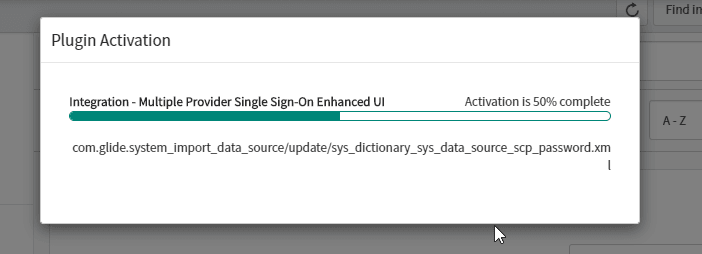
- Install the Integration-Multiple Provider Single Sign-On Enhanced UI
- Plugins are activated after the installation
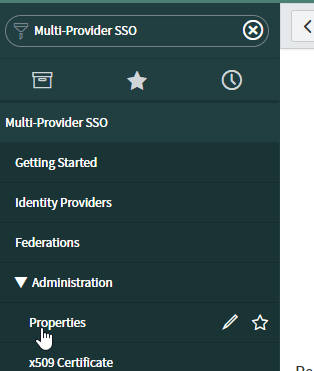
- Search for Multi-Provider SSO in the Filter navigator (top left input field). Click Properties
- Select Yes for Enable Multiple provider SSO, as shown below:
- Click Save.
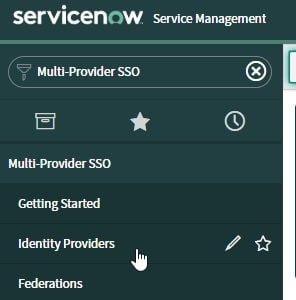
- Search for Multi-Provider SSO in the Filter navigator (top left input field). Select Identity Providers.
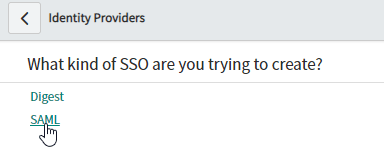
- Click New and select SAML for SSO Configuration
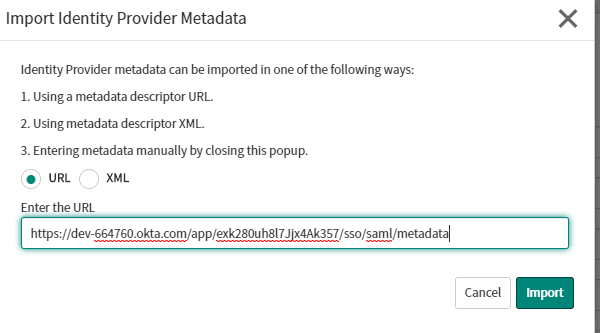
- Import the Identity Provider Metadata from Okta. In this demo we are using the below URL:
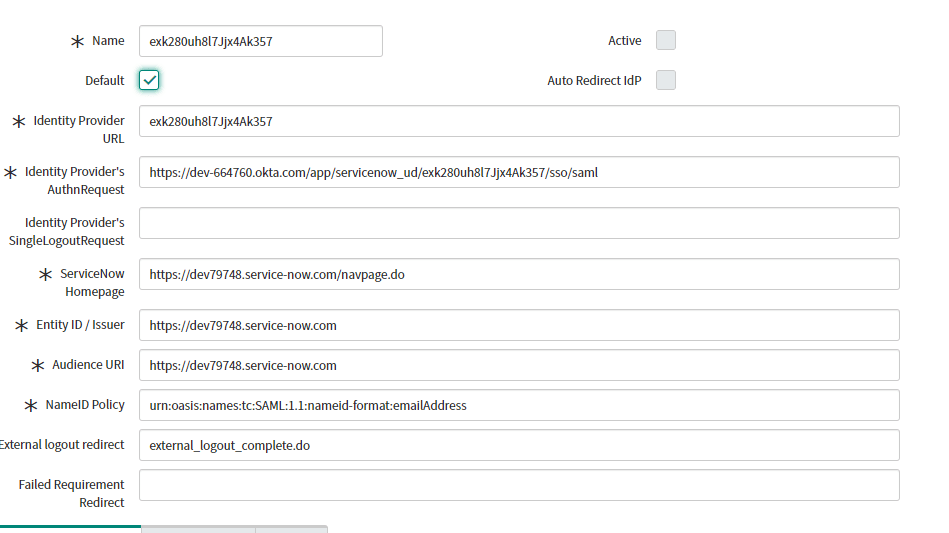
- After Importing the metadata, automated SAML settings are populated. Check Default for Default SAML Settings.
- Under the Encryption & Signing Tab, Set the Signing/Encryption Key Alias as “saml2sp”
- Select the User Provisioning Tab and Uncheck Auto Provisioning User and Update User Record Upon Each Login
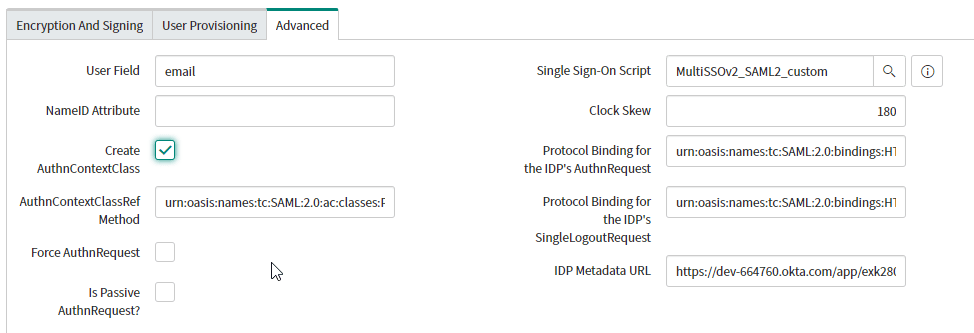
- Select the Advanced Tab:
In the user field, specify the ServiceNow user attributes that you will be matching against Okta with SAML. In our demo we are using Email as the user field.
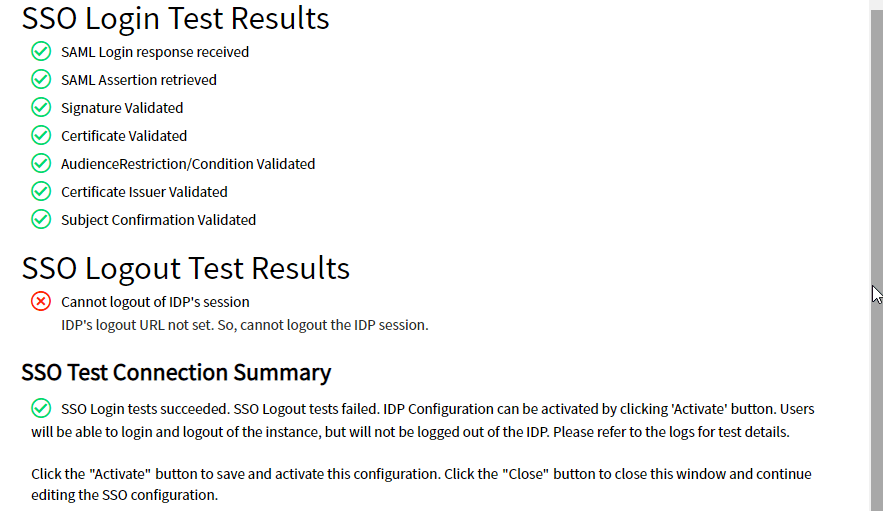
Check Create AuthnContextClass: - Scroll Up and click Test Connection.
- Once the SAML tests pass, click Activate to activate the Identity Provider Initiated SSO setup.
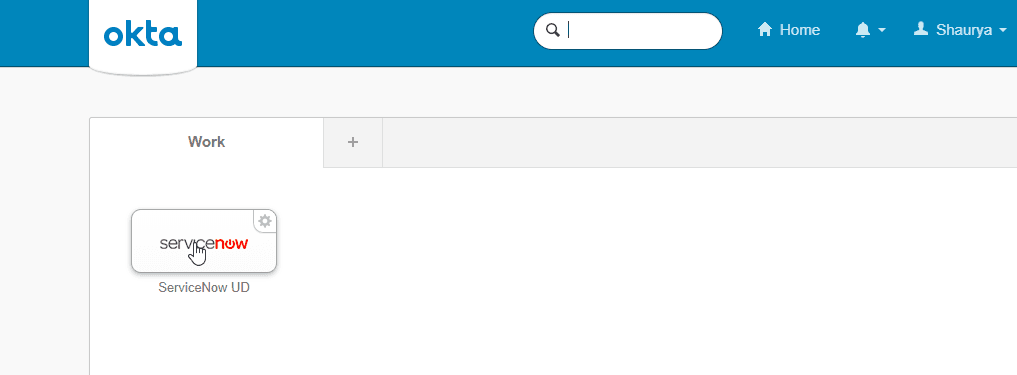
Assigned Users will be able to access the application under Okta Console.
Configuring Service Provider Initiated SSO Setup:
Users who would like to access the application by logging directly into the application can achieve this by configuring Service Provider Initiated SSO Setup where the Initiation starts with Service Provider (in this case ServiceNow).
- Navigate to Identity Providers under Multi-Provider SSO.
- Right-click on the Identity Provider that we set up and select Copy sys_id
- Save the sys_id value on your system.
- Navigate to MyCompany page in ServiceNow
- From the menu icon (see below), select Configure, then Form Design for the Company.
- From the Fields sidebar on the left, select and drag the SSO Source field to the Company [core_company] table in the middle of the page as the last attribute in the list.
- To now apply SP-Initiated SAML to all users, navigate back to the My Company page from the Filter Navigator.
- In the SSO Source field, type sso: Paste the sys_id from the Identity Provider you created with the Multi-Provider SSO plugin. Choose Update to finish.
- Click Save. SP Initiated Setup is Completed.
- Users can go directly to the following URL: https://[yourServiceNowDomain]/login_with_sso.do?glide_sso_id=[sys_id value] to access the application.Success! We hope you found this tutorial on Integrating ServiceNow with Okta valuable.


